baby got back
Welcome to our tutorial on how to finish the back of your embroidery (or cross stitch) hoop. Here you will learn how to gather the excess fabric and sew a felt backing to the back of your needlework.
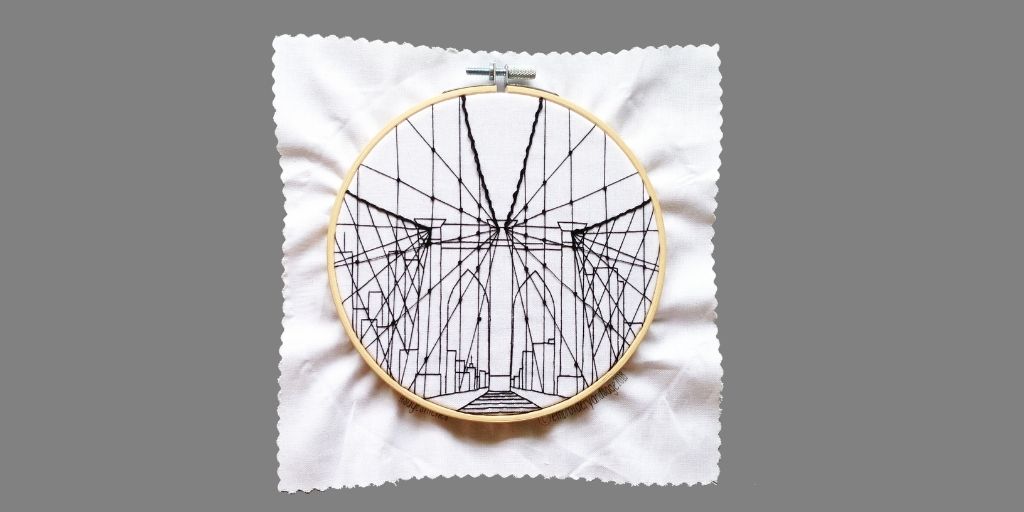
1. Fit the fabric in the hoop.
Fit your finished embroidery into the wooden display hoop. The image should be centered and snug inside your hoop. Make sure the fabric is taut. You don't want the fabric to be sagging anywhere inside the hoop, but be careful to not over-stretch the fabric and distort the image.
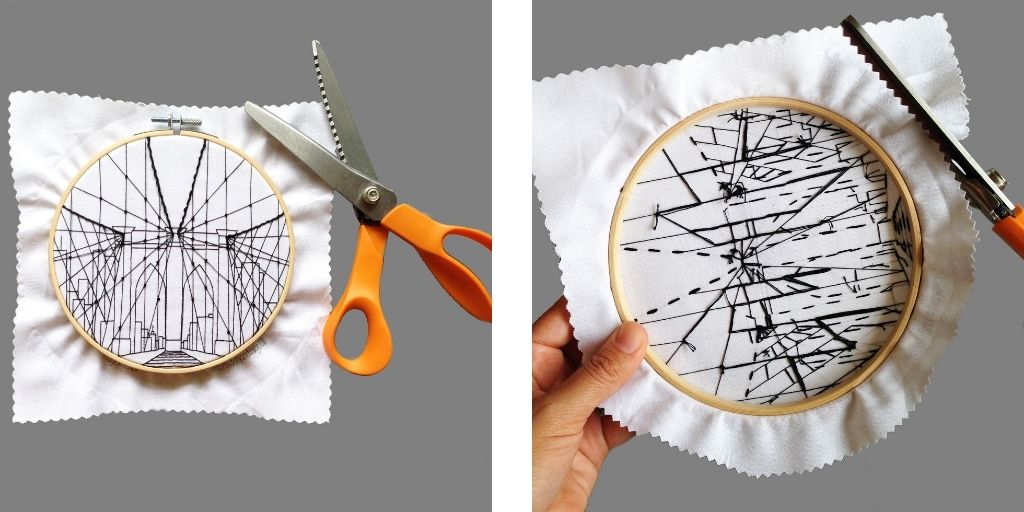
2. Trim the excess fabric.
Trim the fabric about 1'' from the edge of the hoop. You can use regular fabric scissors or pinking shears (the pinking shears will help prevent your fabric from fraying.)
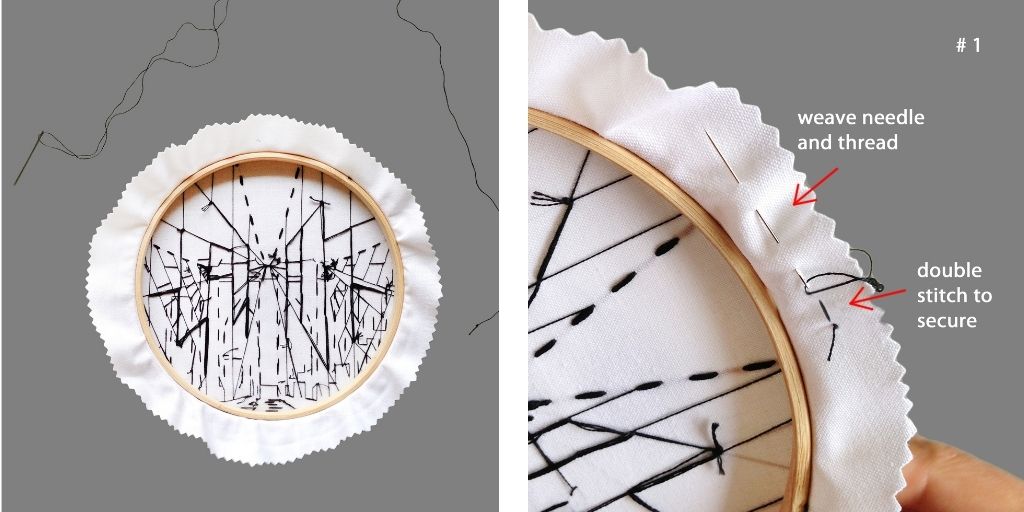
3. Gather the fabric.
Gather the excess fabric using a running stitch. Start with a long single strand of thread, (you can use a light colored thread or corresponding color from your needlepoint). Tie a double knot at one end of your thread, and thread the other end through the eye of your needle. To secure your thread, bring your needle and thread through the fabric and create a double stitch on top of each other. Then simply weave your needle up and down through the fabric (as pictured: #1) and pull your thread through.
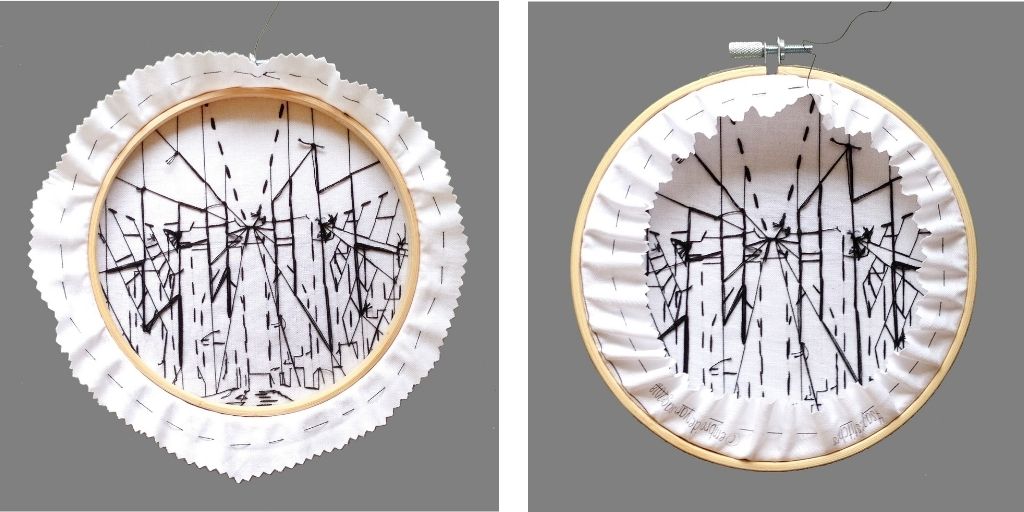
Continue until you have stitched around the whole outer edge. Once you have finished, pull your thread tight so that all the fabric folds in on itself. Secure your thread in place by creating a double stitch on top of each other, then repeat a double stitch on top of each other in the opposite direction (forming a tiny cross). Trim your thread, and now you are ready to sew the felt to the back!
4. Express your-felt...
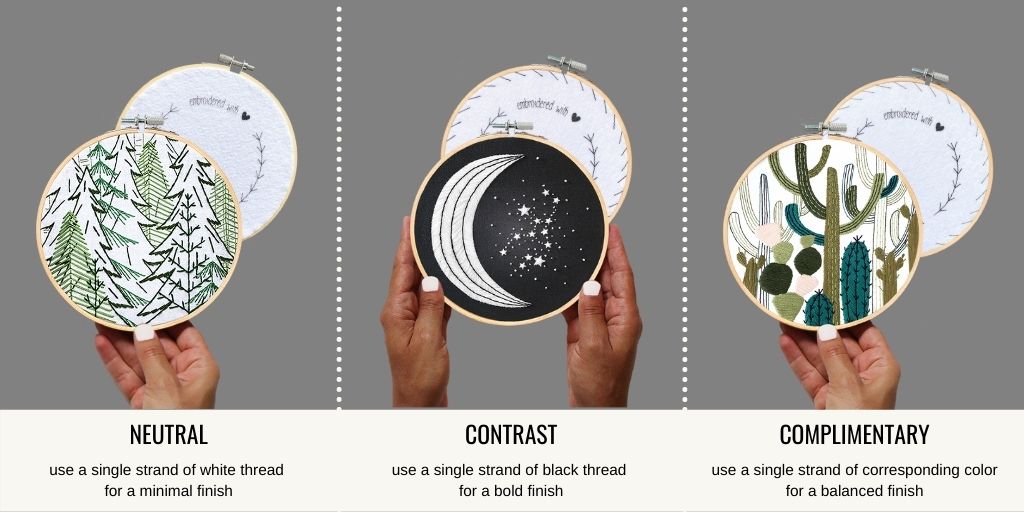
Before the felt is sewn onto the back, you need to decide on a thread color. Choose a light, dark, or corresponding thread color (from your design) to finish the back of the hoop. Below are a few examples of different color thread and the varied looks they can create.
5. Sew the felt backing.
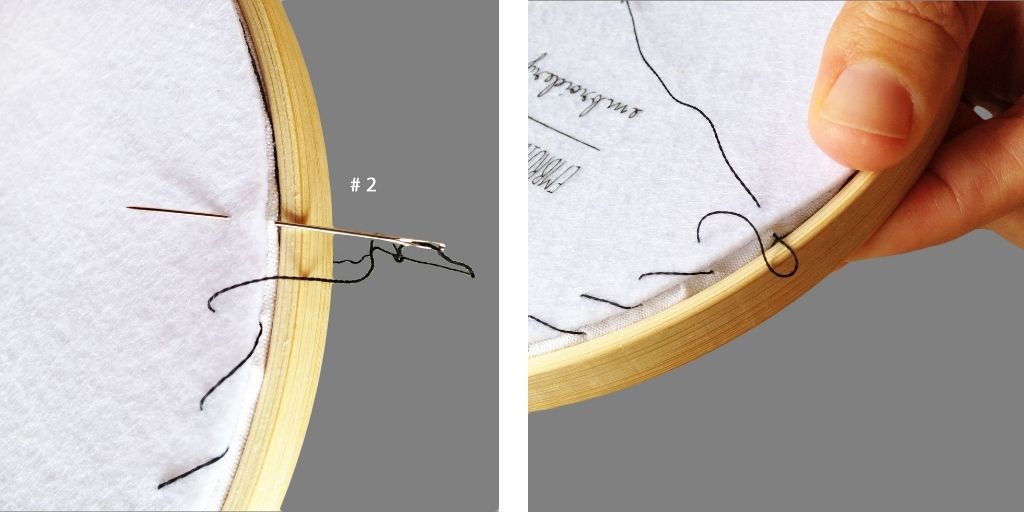
Use a whip stitch to attach your felt backing to the back of your hoop. Start with a long single strand of thread. Tie a double knot at one end of your thread, and thread the other end through the eye of your needle. Bring your needle and thread up through the back of the excess fabric (right next to the hoop's edge). Next bring your needle over about 1/2'' to the right or left. Create a straight stitch by sinking your needlepoint down through the excess fabric and back up 1/8"-1/4" from the edge of the felt (as pictured: #2). Pull your needle and thread all the way through to create a nicely angled stitch. Repeat these steps to achieve beautifully spaced whip stitches all the way around your felt.
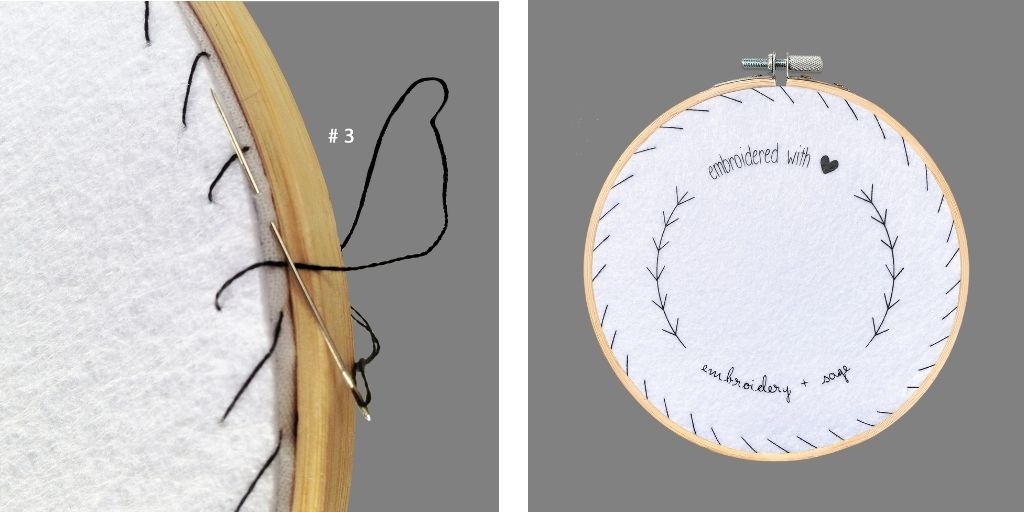
Secure your thread in place by creating a small double stitch on top of each other on the excess fabric/NOT FELT (as pictured: #3), then repeat a double stitch on top of each other in the opposite direction (forming a tiny cross). Trim your thread and voila!
Hope this tutorial was helpful. If you have any questions, please don't hesitate to contact E+S. We are always happy to help. Check out our how's it hanging? tutorial for ideas on how to display your bespoke embroidery.